Mastering Azure DevOps Pipelines: Automate Your CI/CD with Precision
Most teams use Azure DevOps Pipelines as mere automation tools—what if you viewed them as your strategic release orchestrator that could predict and prevent failures before they happen?
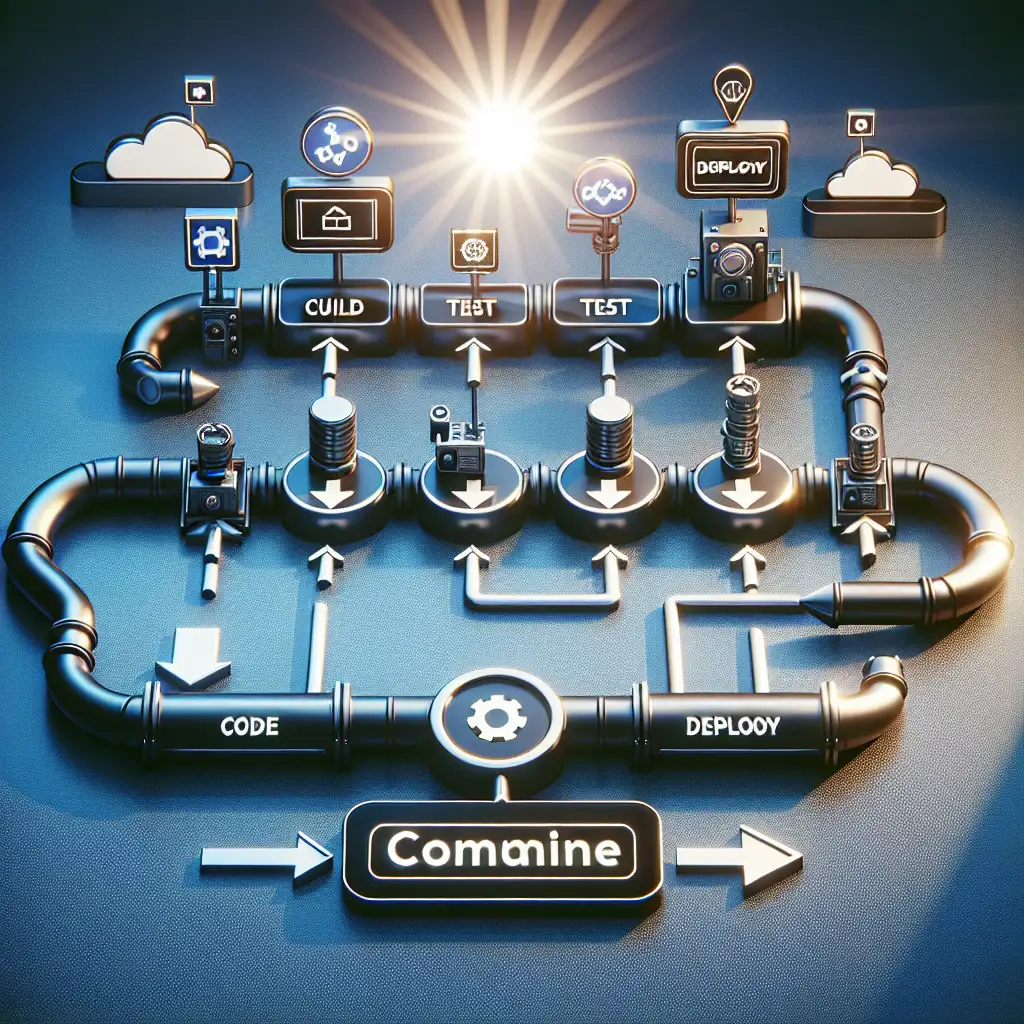
Efficient CI/CD pipelines are the backbone of rapid, reliable software delivery. Understanding how to leverage Azure DevOps Pipelines transforms development workflows by reducing manual errors and accelerating release cycles. In this post, you'll learn how to master Azure DevOps Pipelines with practical, hands-on guidance designed to elevate your software delivery game.
What is Azure DevOps Pipelines?
Azure DevOps Pipelines is a cloud service that automates build, test, and deployment processes for your applications, supporting multiple languages and platforms. It combines Continuous Integration (CI) and Continuous Delivery/Deployment (CD) into an integrated workflow that fosters rapid delivery with higher confidence.
Why Mastering Azure DevOps Pipelines Matters
- Consistent Builds and Deployments: Automation minimizes human errors.
- Faster Feedback Loops: Automated tests run immediately on code changes.
- Reliable Releases: Deployment processes are repeatable and traceable.
- Visibility: Detailed pipeline logs identify bottlenecks.
- Scalability: Easily extend pipelines across teams/projects.
Step-by-Step Guide to Setting Up an Effective Pipeline
Step 1: Create Your First Pipeline
-
Navigate to Azure DevOps Project
- If you don’t have a project, create one in the Azure DevOps portal.
-
Go to Pipelines > Create Pipeline
-
Select source code repository (e.g., GitHub, Azure Repos)
-
Choose configuration method:
- Starter pipeline or
- Use existing YAML file
Example: Basic YAML Pipeline for a .NET Core Project
Here's a simple pipeline YAML (azure-pipelines.yml) for a .NET Core application:
trigger:
- main

pool:
  vmImage: 'ubuntu-latest'

steps:
- task: UseDotNet@2
  inputs:
    packageType: 'sdk'
    version: '6.x'

- script: dotnet build --configuration Release
  displayName: 'Build Project'

- script: dotnet test --no-build --verbosity normal
  displayName: 'Run Unit Tests'

- task: PublishBuildArtifacts@1
  inputs:
    PathtoPublish: '$(Build.ArtifactStagingDirectory)'
    ArtifactName: 'drop'
This pipeline triggers on pushes to the main branch, sets up the .NET SDK, builds the app, runs tests, and publishes artifacts.
Step 2: Integrate Automated Testing
Automated tests are critical for CI.
Add steps to your YAML if you have UI or integration tests:
- script: dotnet test --logger trx
  displayName: 'Execute Tests with TRX Logger'

- task: PublishTestResults@2
  inputs:
    testResultsFormat: 'VSTest'
    testResultsFiles: '**/*.trx'
This publishes your test results so they show up in the Azure DevOps Test tab — invaluable for tracking regressions fast.
Step 3: Configure Continuous Deployment
With artifacts ready, set up CD pipelines or multi-stage pipelines like below:
stages:
- stage: Build
  jobs:
  - job: BuildJob
    pool:
      vmImage: 'ubuntu-latest'
    steps:
      # build & test steps here as above

- stage: Deploy_Dev
  dependsOn: Build
  jobs:
  - deployment: DeployToDev
    environment: 'development'
    pool:
      vmImage: 'ubuntu-latest'
    strategy:
      runOnce:
        deploy:
          steps:
          - download: current
            artifact: drop

          - script: echo "Deploying to Development environment"
            # Replace with real deployment script or task here
Add environments for staging and production with approval gates inside Azure DevOps for safer rollouts.
Step 4: Enhance Your Pipelines With These Best Practices
- Use Templates: Share reusable YAML templates across projects.
- Leverage Variables & Secrets: Store sensitive data in variable groups or Azure Key Vault.
- Branch Policies With PR Validation: Automatically trigger builds for pull request validation.
- Define Pipeline Triggers Strategically: Limit pipelines triggered by certain branches/tags/paths.
- Pipeline Caching: Speed up dependencies restore/build steps.
- Parallel Jobs & Matrix Builds: Test across multiple OS versions/runtime settings simultaneously.
Common Troubleshooting Tips
- Check logs thoroughly when builds fail—Azure DevOps highlights exact command errors.
- Validate YAML syntax with the built-in editor before saving changes.
- Use pipeline visualization views to understand stage/job flow.
- If environmental variables aren't available in deployment jobs, confirm variable scopes.
Wrapping Up
Mastering Azure DevOps Pipelines is about more than just automating repetitive tasks—it’s about architecting a streamlined delivery process tailored for your team’s needs. By investing time designing robust pipelines with testing, artifact management, approvals, and environment controls, you’ll reduce manual errors and speed releases without sacrificing quality.
Try building or refining your pipelines today using these practical steps—you’ll soon wonder how you ever released software without such precision orchestration!
Happy Deploying!
If you found this helpful or want me to cover advanced topics like pipeline security or multi-repo strategies next, let me know in the comments!