How to Seamlessly Integrate a Docker Agent into Jenkins for Scalable CI/CD Pipelines
Instead of wrestling with Jenkins master node overload and environment drifts, leverage Docker agents to contain build complexity and future-proof your CI/CD workflows with containerization at the agent level.
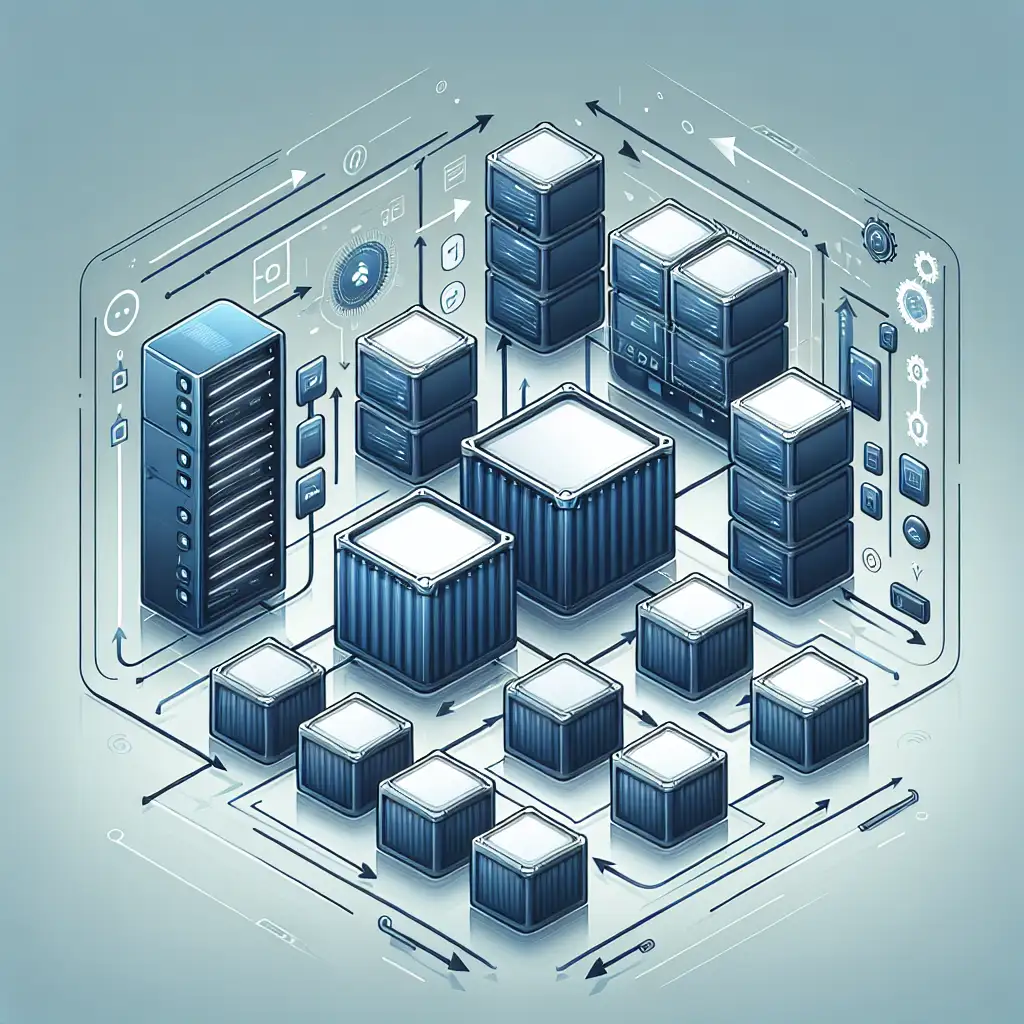
Continuous Integration and Continuous Deployment (CI/CD) pipelines are only as reliable as the environments they run in. Over time, traditional Jenkins setups, where the master node handles builds or delegates them to fixed agents, often suffer from environment drift and resource bottlenecks. Enter Docker agents — lightweight, containerized Jenkins build nodes that bring consistency, scalability, and isolation directly to your pipeline workers.
In this post, we’ll dive deep into how to seamlessly integrate Docker agents into your Jenkins setup. I'll guide you through practical steps and real examples so you can empower your team with isolated, reproducible build environments that scale effortlessly.
Why Use Docker Agents in Jenkins?
Before we jump into the “how,” here’s a quick refresher on why you should integrate Docker agents:
- Isolation: Each build can run in a fresh Docker container with exactly what it needs — no more "works on my machine" surprises.
- Scalability: Spinning up new agents on-demand means handling peak loads gracefully without overloading the Jenkins master.
- Consistency: Container images ensure every agent runs the exact same environment, reducing flaky builds caused by environment drift.
- Maintainability: Update your build environments by simply updating your Docker image—no more manual maintenance on connected agent machines.
The goal is clear — offload builds onto containerized agents spun up from custom Docker images tailored exactly for your workloads.
Step 1: Prepare Your Jenkins Master for Docker Agents
First thing’s first: your Jenkins server must be able to launch Docker containers. This typically means installing Docker on the machine running the Jenkins master or on remote nodes configured as clouds or agents.
Install Docker
On Ubuntu/Debian:
sudo apt-get update
sudo apt-get install docker.io
sudo usermod -aG docker jenkins
Note: Adding
jenkinsuser to thedockergroup allows Jenkins processes to launch containers without sudo.
Restart Jenkins service after this change for permissions to take effect.
Step 2: Install the Required Jenkins Plugins
Navigate to Manage Jenkins > Manage Plugins, then install:
- Docker Plugin
- Docker Pipeline Plugin
These plugins allow you to configure Docker hosts as cloud providers and use Docker containers directly in pipeline steps.
Step 3: Configure a Docker Cloud in Jenkins
Jenkins supports provisioning build agents dynamically via cloud configurations. Here’s how to set up a Docker Cloud:
- Go to
Manage Jenkins > Configure System. - Scroll down to Clouds, then click Add a new cloud > Docker.
- Fill in:
- Docker Host URI:
unix:///var/run/docker.sockif local, or remote host URL. - Connect Method: Usually default is fine if local.
- Docker Host URI:
- Define a new Docker Agent Template inside this cloud:
- Labels: e.g.
docker-agent - Docker Image: e.g.
jenkins/inbound-agent(official Jenkins agent image) or a custom-built image. - Remote File System Root: e.g.
/home/jenkins - Credentials: If necessary, add credentials for private registries or SSH keys.
- Launch Method: Usually “Launch agent by connecting it to the controller” for inbound agents.
- Labels: e.g.
Save your configuration.
Step 4: Create or Customize Your Docker Agent Image
You might want an agent with pre-installed tools specific to your builds like Maven, Node.js, Python etc.
Example simple Dockerfile:
FROM jenkins/inbound-agent:latest

USER root

# Install Maven, Git and others
RUN apt-get update && apt-get install -y maven git curl \
    && rm -rf /var/lib/apt/lists/*

USER jenkins
Build & publish this image:
docker build -t myregistry/jenkins-agent-maven:latest .
docker push myregistry/jenkins-agent-maven:latest
Then update your agent template in Jenkins with this image name.
Step 5: Use the Docker Agent Label in Your Pipeline Jobs
When you create or edit jobs/pipelines, specify that they run on nodes labeled with your docker agent label:
pipeline {
    agent { label 'docker-agent' }
    stages {
        stage('Build') {
            steps {
                sh 'mvn clean package'
            }
        }
    }
}
Jenkins will dynamically provision an agent container based on the template defined earlier and execute your stages inside it.
Alternative Approach: Using “Docker Pipeline” Plugin To Spin Containers On-Demand
Another flexible option is using the docker directive inside pipeline scripts without pre-configured clouds.
Example:
pipeline {
    agent any

    stages {
        stage('Run inside docker') {
            steps {
                script {
                    docker.image('maven:3-alpine').inside {
                        sh 'mvn clean package'
                    }
                }
            }
        }
    }
}
This runs only that step inside a fresh Maven container. However, it doesn’t use full-fledged Jenkins agents with inbound connections but is useful for simple use-cases.
Best Practices & Tips
- Cache your images on build hosts or use lightweight base images (e.g., alpine) for faster startup.
- Use private container registries if you require proprietary tools/packages.
- Monitor container resource usage; set limits if needed within your cloud templates.
- Leverage labels strategically so jobs pick appropriate specialized agents (e.g.,
docker-agent,windows-docker-agent). - Always test new custom images locally before deploying on production pipelines.
Conclusion
Integrating Docker agents into Jenkins pipelines transforms how CI/CD workloads are managed — bringing automation closer to true infrastructure-as-code practices. You gain isolated, consistent environments that spin up dynamically when needed and tear down cleanly afterward — boosting both reliability and speed of delivery.
By following these steps — setting up the Docker environment on your master node, configuring cloud templates in Jenkins, creating custom images tailored for builds, and updating job definitions — you’ll be well on your way to scalable CI/CD workflows powered by containerized build agents!
Happy building! 🚀🐳
If you want me to share example configs or troubleshoot specific setups next time—just ask!