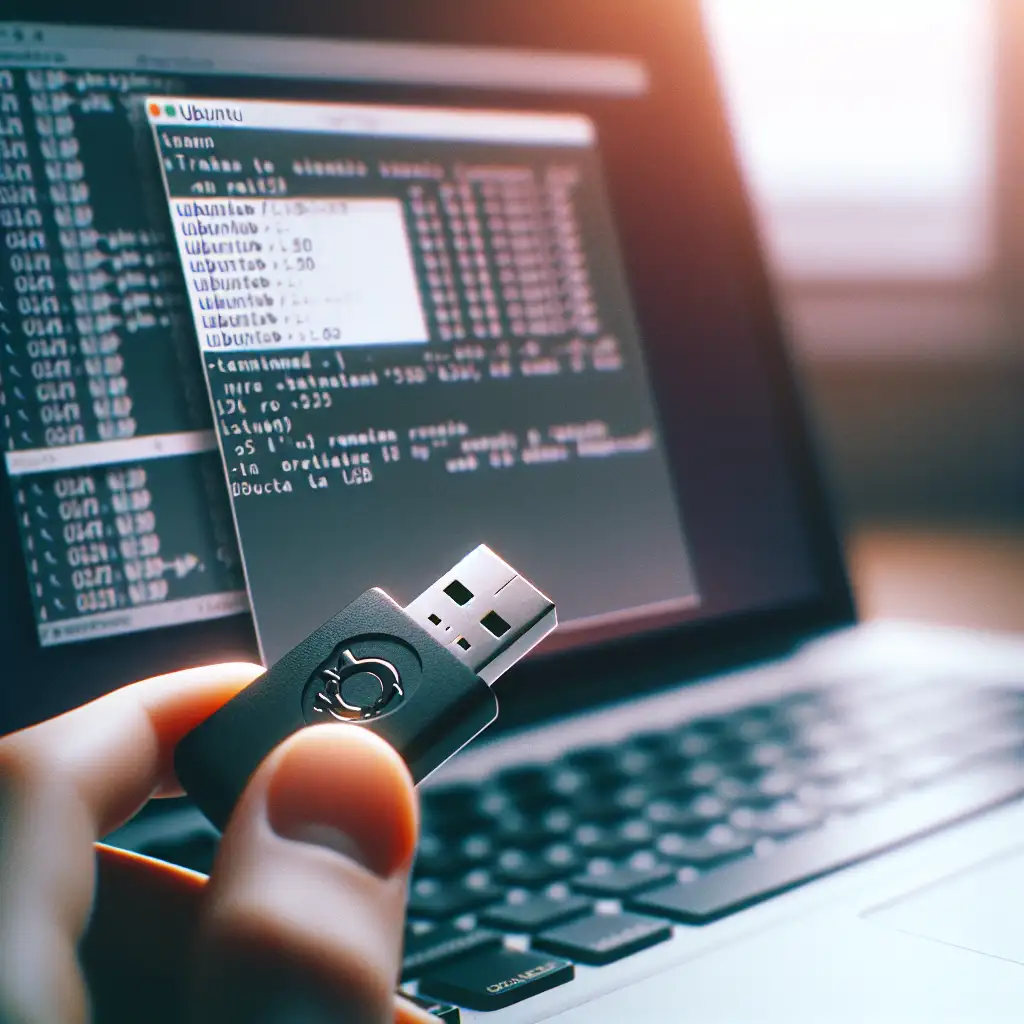
Mastering ISO to USB Creation on Ubuntu: Streamlined, Consistent Boot Media
Bootable USB media remains essential for provisioning hardware, testing OS images, or disaster recovery—particularly in mixed or large-scale environments. Yet “it boots on my laptop” is no guarantee for your entire fleet. Here’s how experienced sysadmins get reliable, byte-exact boot USBs on Ubuntu every time, using tried and proven command-line and GUI techniques.
Reliable ISO-to-USB Creation: Why Process Matters
Failed OS installs often trace back to subtle errors in the media creation phase—incorrectly written boot sectors, incomplete file systems, or corrupted images. With UEFI and “hybrid” ISOs, issues multiply. Ubuntu provides robust utilities for this, but small mistakes (such as writing to a partition rather than the full device) still trip up even seasoned engineers.
Direct, Low-level Method: dd
dd(1) is the classic tool for writing images on Unix systems. It's part of GNU coreutils; no install required. Its downside: terminally unforgiving—you get exactly what you ask for, mistakes included.
Device identification (critical!)
First, determine the target block device:
lsblk -o NAME,SIZE,MODEL,TRAN,SUBSYSTEMS,MOUNTPOINT
Example output:
sda    477G Samsung_SSD ...          │
└─sda1 477G                               /
sdb    15G  SanDisk_Ultra ...       │
Here, /dev/sdb is the USB drive.
Unmount all partitions before flashing:
sudo umount /dev/sdb*
Skipping this sometimes results in “device is busy” or, worse, incomplete writes.
Write the ISO:
sudo dd if=~/Downloads/ubuntu-22.04.4-desktop-amd64.iso of=/dev/sdb bs=4M status=progress oflag=direct
- Use
bs=4Mfor performance. oflag=directbypasses cache, reducing the risk of lingering, unsynced writes. (Alternative:oflag=sync)- Always target the disk, not a partition.
Finalize:
sync
dd provides no warning if you mistype the of= argument; triple-check before running. Many seasoned admins intentionally detach non-target disks prior to flashing as an extra precaution.
Gotcha: On some hardware, USB sticks retain unsafe write caches; physical removal before sync completes will corrupt the image.
Popular GUI Option: Balena Etcher
For repetitive or cross-platform workflows (imaging from Ubuntu for Windows/Mac laptops, etc.), Balena Etcher lowers the risk of accidental device selection and includes image validation by default.
Installation options:
- AppImage (self-contained, no package conflicts)
- Snap:
sudo snap install etcher --classic
Workflow:
- Select Image → point to the
.iso - Select Target → doublecheck!
- Flash
Etcher v1.18 validates write integrity post-copy—crucial for detecting subtle hardware faults.
Note: For some non-Ubuntu ISOs (“custom” recovery tools, memtest86+, etc.), Etcher occasionally fails with “Invalid boot record” errors. When that happens, fall back to dd.
Native: Startup Disk Creator
Ubuntu ships with usb-creator-gtk (visible as "Startup Disk Creator" in the menu), tailored for writing official Ubuntu images. UI is basic but effective.
Steps:
- Launch from Activities or
usb-creator-gtk. - Select source ISO (“.iso”).
- Select USB target (disks, not partitions).
- Click Make Startup Disk.
Observed limitations:
- Non-Ubuntu ISOs (e.g. Arch, Manjaro) may not boot correctly.
- No explicit verification dialogue; check the logs for errors in
/var/log/syslog.
Verification: Image Integrity and Troubleshooting
Hash check (always):
sha256sum ubuntu-22.04.4-desktop-amd64.iso
Compare to values published at https://releases.ubuntu.com/
Detection
After flashing, physically replug the USB stick. It should appear as a new device (sometimes named “Ubuntu 22.04.4 LTS”). Inspect with:
lsblk -f
Debug info
Some failed boots—black screens, “No bootable medium found”—are due to:
- Secure Boot or legacy BIOS configuration issues on the target hardware.
- Incomplete image write (especially if
syncstep skipped). - Hardware faults: dmesg will log I/O errors if stick is failing.
Trade-offs and Pro Tips
| Tool | Verified write? | Cross-platform | Non-Ubuntu ISO | Performance | Safety |
|---|---|---|---|---|---|
dd | No | Yes | Yes | Fast | High risk if wrong device selected |
| Etcher | Yes | Yes | Mostly | Good | Visual safety; blocks system disks by default |
| Startup Disk Creator | No | No | Not reliable | Standard | OK for Ubuntu images, not for custom ISOs |
- For UEFI systems, verify that the ISO is “hybrid” or includes EFI bootloader.
fileoutput on the ISO often indicates this:ubuntu-22.04.4-desktop-amd64.iso: DOS/MBR boot sector; partition 1 : ID=0xef, start-CHS... - For mass provisioning: consider automating with a script that zeroes (
dd if=/dev/zero) the USB's first sectors before writing, to avoid odd “ghost” boot entries from previous flashes.
Practical Pitfalls (and How to Avoid Them)
- Partial writes. Don’t trust “device light activity”; always wait for
sync. - Wrong device selection.
lsblkcan be misleading if device names change post-insertion. Re-run after plugging the USB. - Non-Ubuntu ISOs. Etcher and dd remain the most flexible; avoid Startup Disk Creator if you’re not using official Ubuntu releases.
- Silent errors. Some sticks (especially cheap, counterfeit units) appear to write successfully but fail validation. Cross-verify by mounting the written stick and running:
Calculatecmp -n <size> <iso> <usb device><size>in bytes usingstat -c %s <iso file>.
A legitimate workaround exists—using Ventoy to make a multi-ISO USB. However, for highest reliability or when imaging systems at scale, classic dd or Etcher remain the tools of record.
When the next hardware batch hits, you’ll appreciate rigorous, reproducible USB imaging. Theory is good; field-tested process is better.
Key practical tip: Always start with verifying your ISO; a corrupted input means a wasted hour (or worse—dead deployment).
For any edge cases—unusual ISOs, hardware quirks—dd remains unrivaled, but has zero safeguards; don't use it fatigued.
(End of guide. Corrections, questions, or hard-won hacks? Leave a reference in your team wiki—no blog post substitutes for ops notes accumulated onsite.)
