Mastering ISO to USB Creation on Ubuntu: Efficient, Reliable Bootable Drives Every Time
Creating bootable USB drives from ISO files on Ubuntu is a foundational skill every system administrator, developer, or IT professional should master. Whether you're installing a new OS, running live environments, or performing system recovery, having a reliable USB boot medium makes all the difference. Yet many struggle with corrupted media or boots that never quite start right.
Forget bulky, complex tools—discover a streamlined approach to ISO to USB creation on Ubuntu that prioritizes reliability and simplicity. You don’t need heavy software suites to get this job done correctly. In this guide, I’ll walk you through practical methods—from command-line tools to simple GUI apps—to create bootable drives efficiently and without hassle.
Why Proper ISO to USB Creation Matters
A corrupted or improperly created bootable USB means wasted time troubleshooting installation failures or system errors. The process must write the ISO exactly as intended, including boot sectors and file structures, so the target machine knows how to boot from it without hiccups.
Ubuntu offers native tools that do this job exquisitely once you know how to leverage them. No guesswork — just reliable results.
Method 1: Using dd – The Command Line Classic
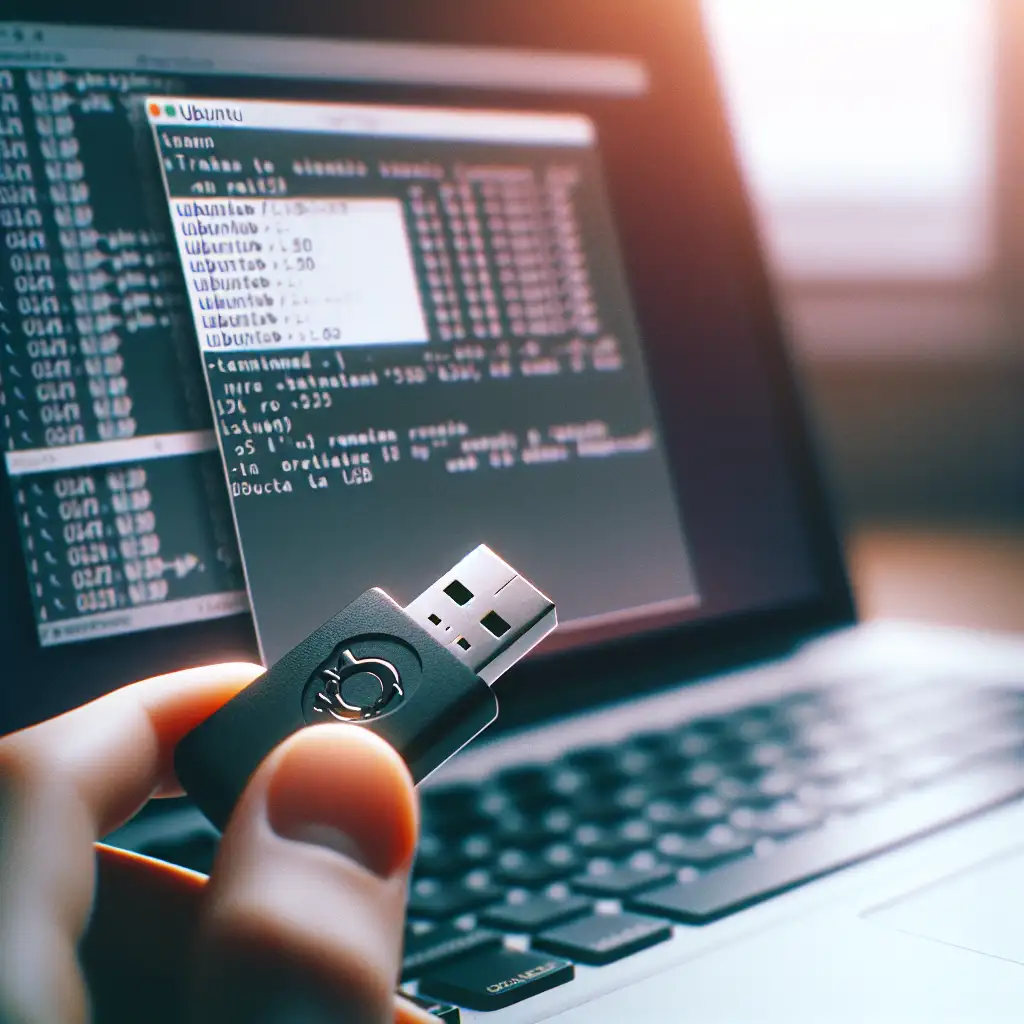
If you like simplicity and control, the command-line utility dd is your best friend. It’s included by default with Ubuntu and can create perfect byte-for-byte copies of your ISO onto your USB device.
Steps:
-
Identify your USB device
Insert your USB stick and run:lsblkLet's say your USB shows up as
/dev/sdb(NOT a partition like/dev/sdb1, but the whole device). -
Unmount the USB drive
Before writing, ensure it’s unmounted:sudo umount /dev/sdb* -
Write the ISO to USB
Assuming your ISO is called
ubuntu-22.04-desktop-amd64.isoin your Downloads folder:sudo dd if=~/Downloads/ubuntu-22.04-desktop-amd64.iso of=/dev/sdb bs=4M status=progress oflag=syncif=Input file (ISO location)of=Output file (your USB device)bs=4MRead/write in 4 megabyte chunks (speeds up the process)status=progressShows ongoing progressoflag=syncEnsures data is flushed immediately preventing corruption
-
Sync and eject
After completion:
sync
This guarantees all write operations are finished before removal.
Why dd?
- No extra install required
- Minimal overhead
- Direct low-level copy preserving bootability perfectly
Note: Be very careful choosing the output device with dd. Writing to the wrong disk can erase critical data.
Method 2: Using Etcher – User-Friendly GUI Alternative
For those who prefer graphical user interfaces or want cross-platform reliability without fuss, Balena Etcher is a superb choice.
Installation on Ubuntu:
Download their AppImage from etcher.io or install via snap:
sudo snap install etcher --classic
Using Etcher:
- Launch Etcher.
- Click Flash from file and select your ISO.
- Choose your target USB drive (Etcher highlights removable drives).
- Click Flash! and wait for completion.
- Safely eject when done.
Etcher verifies write integrity automatically, decreasing risks of corrupted boots.
Method 3: Using Startup Disk Creator – Native Ubuntu Tool
Ubuntu also ships with Startup Disk Creator, which offers an intuitive GUI experience tightly integrated into Ubuntu's desktop environment.
How To Use:
- Search for Startup Disk Creator in your Activities search bar.
- Choose the source
.isofile. - Select your target USB drive.
- Click Make Startup Disk.
- Wait for it to finish then eject safely.
While convenient for Ubuntu ISOs, Startup Disk Creator may be less flexible with non-Ubuntu-based ISOs compared to dd or Etcher.
Quick Tips for Reliable Bootable Drives on Ubuntu
-
Always ensure you're flashing to the entire device (
/dev/sdx) not a partition (/dev/sdx1). -
Use a quality USB stick with enough storage capacity (usually 8GB+).
-
After flashing with dd or other tools, use
syncbefore unplugging to avoid corruption. -
Verify download hashes of ISOs before writing—you want clean inputs! For example:
sha256sum ubuntu-22.04-desktop-amd64.iso -
For UEFI systems, confirm that your chosen tool supports EFI boot modes if relevant.
-
When troubleshooting boot problems, test your flash drive on multiple machines if possible before deployment.
Final Thoughts
Creating a reliable bootable USB drive from an ISO on Ubuntu doesn’t require elaborate software or arcane commands—just knowledge of the right tools and best practices.
Whether you lean towards precise command-line mastery with dd, user-friendly GUIs like Etcher, or native utilities like Startup Disk Creator, mastering these methods empowers you with flexibility and confidence when deploying systems or rescuing machines remotely.
Next time you need an instant boot media on Ubuntu — no hassle, no headache — just spot-on reliability every time!
Happy flashing! If you found this helpful, feel free to share it with fellow sysadmins and tech enthusiasts juggling those once-daunting ISO-to-USB tasks daily on Linux!