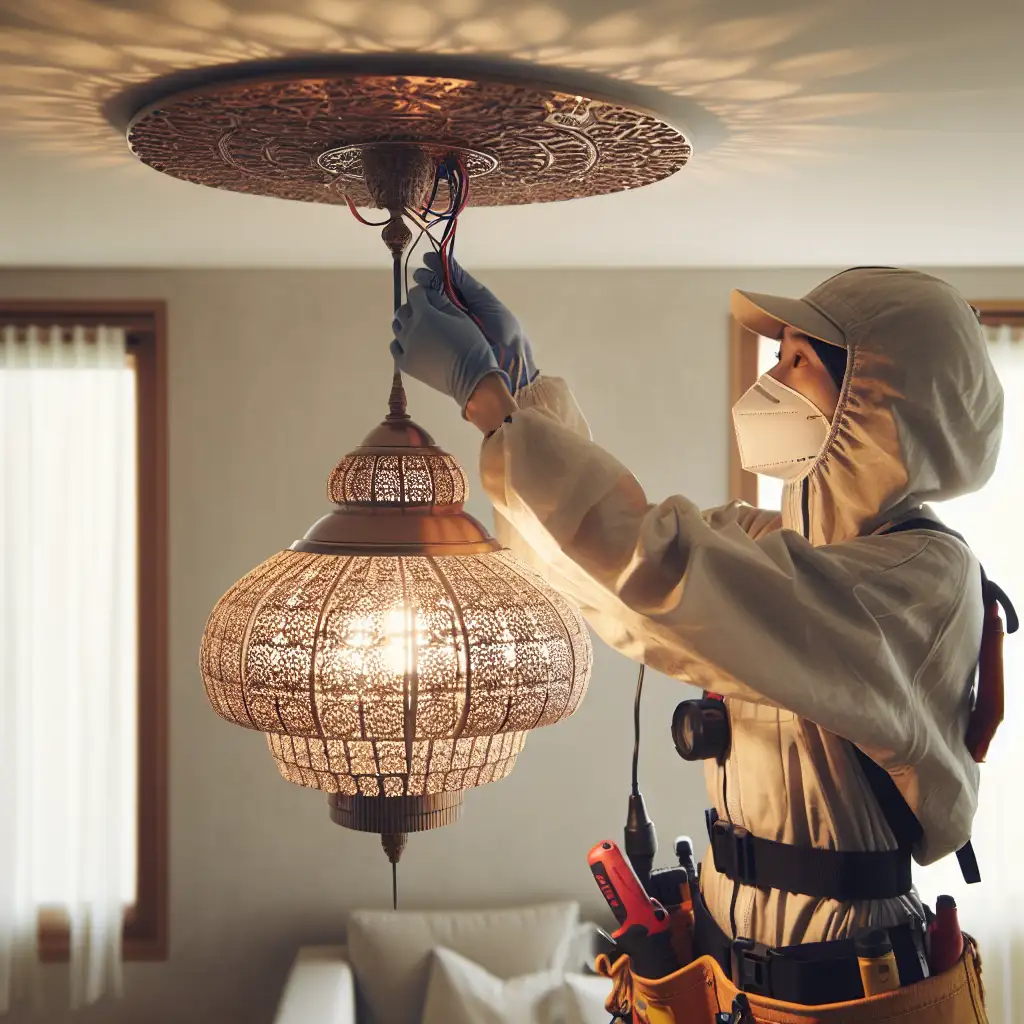
Practical Guide: Ceiling Lamp Installation for Non-Electricians
Reliable lighting upgrades don’t always require a professional. The following sequence outlines the essential methods and diagnostic steps, informed by years of field work, for installing a new ceiling lamp both safely and efficiently.
Required Tools & Materials
| Tool/Part | Purpose | Note |
|---|---|---|
| Flathead/Phiillips screwdriver | Fastening/Removing screws | Magnetic tip models prevent dropped screws |
| Voltage tester/multimeter | Confirm power is off | Fluke T5 or equivalent recommended |
| Wire stripper/cutter | Prepare conductors | Klein 11055 works well in tight spaces |
| Ladder or step stool | Access ceiling | Don’t trust chairs—actual ladders only |
| Wire nuts/electrical tape | Insulate connections | UL-listed only |
| Ceiling lamp fixture | Replacement (inc. mounting hardware) | Check weight rating vs. box spec |
| Flashlight | Workspace illumination | Headlamps free both hands |
1. Disable Power at Circuit Level
At this stage, overconfidence is a liability. Open your panel and cut supply to the relevant room or branch circuit. Test the circuit at the fixture using a voltage tester prior to contact with any wire. Don’t trust switch positions—they’re commonly miswired in pre-1980s installs.
# Live wire detected warning example (Fluke T5)
> VOLTAGE: 122V AC detected between black and white conductors.
# Do not proceed.
2. Remove Existing Fixture
- Detach any diffusers or shades to expose retaining hardware.
- Loosen mounting screws. If the fixture resists, suspect paint or corrosion—don’t force it; work methodically.
- Support the assembly as you lower it—older fixtures can fail abruptly at the wire nuts.
- Retest wires with the voltage tester (yes, again).
- Disconnect each conductor, noting color and labeling if wiring is non-standard or faded.
- Salvage hardware if compatible (thread gauges differ among manufacturers).
3. Inspect Junction Box Integrity
Physically check the box anchorage. Lightweight boxes are rated for fixtures under 6 kg (~13 lbs); heavier units (e.g., chandeliers) demand a steel or brace-mounted box (NEMA OS-1 standard). Loose boxes = future failure or code violation.
Typical US wiring:
- Black: Live/Hot
- White: Neutral
- Green/Bare: Ground
Non-trivial deviations exist in wiring colors, especially in renovations; when in doubt, check with a continuity tester or consult NEC/IEC tables.
4. Prepare and Mount Bracket
- Attach new (or compatible existing) bracket to junction box with box screws; avoid overtightening which can thread-strip older boxes.
- Route fixture wires through center port or strain relief grommet.
- For heavy fixtures, ensure additional support complies with manufacturer's install instructions.
5. Electrical Connections
Connection order affects outcome. Proceed as follows:
House Black  ──┐
               ├── Wire nut ── Fixture Black
House White  ──┘

House Ground ── Fixture Ground (Green/Bare) or Grounding Screw
- Twist wires together clockwise; secure with UL-listed wire nut.
- Tape around nut and exposed conductor—especially for aluminum wiring (if present, anti-oxidizing paste mandatory).
- For multi-branch boxes, only connect fixture wires to branch you disabled—cross-connections are a common fastener mistake.
Tip: If installing dimmers later, ensure the fixture is compatible with TRIAC or ELV circuits or you may see flickering or early bulb failure.
6. Affix Fixture to Ceiling
- Gently tuck wires into the box—sharp bends lead to insulation degradation over time. Fixture mount holes must line up with bracket; many installs fail here due to bracket misorientation.
- Secure faceplate or base per manufacturer’s torque spec. Overtightening leads to cracked glass or warped metals—lightly snug is sufficient.
- For chandeliers or fixtures above 4 kg, install auxiliary support as required. This is often neglected and voids insurance in case of failure.
7. Bulb and Shade Installation
Install lamp type as specified on fixture (e.g., E26/E27 base, <= 60W). Exceeding rating introduces fire hazard—ignore at your own risk. For LEDs, ensure correct voltage and color temp (2700K for warm indoor use).
Tighten shades just enough to prevent rattle. Overtightening glass rim nuts risks stress cracks.
8. Power Restoration and Commissioning
Re-energize the circuit at the panel.
Commissioning steps:
- Activate switch and verify lamp operation.
- If non-functional:
- Confirm live voltage at base with multimeter
- Inspect all connections, correct any loose or mis-matched wires
- Test with a known-good bulb
Known issue: Some LED fixtures present inrush current that can trip AFCI breakers, especially in recent builds (post-2014 NEC).
Example: Dining Room Pendant Above Table
Real scenario: Customer replaced halogen chandelier (3.4kg) with 9-bulb LED chandelier (5.7kg). Old box sheared under new weight within 48 hours because existing box was plastic and not officially rated for ceiling suspensions >6kg. Retrofitting a steel brace remedied the situation—lesson: always check load marking molded into box (or lack thereof).
Chain-mount fixtures require adjustment before wiring; each cm of slack matters for symmetry above a table.
Operational Notes & Best Practices
- Never work on energized circuits.
- Confirm load rating and anchoring of ceiling boxes; upgrade as needed.
- Avoid “backstab” push-in wire connections—always use twist wire nuts for ceiling fixtures.
- Keep children and pets away; tools dropped from above are not forgiving.
- If circuit identification is difficult, label wires before disconnecting during removal.
Installation isn’t always textbook simple—legacy wiring, brittle insulation, or junction boxes buried above plaster can introduce complications. Sometimes, deferral to a licensed electrician isn’t just preferable, it’s legally required.
Non-obvious tip: For homes with frequent lamp failures or excess flicker, test for fluctuating voltage. Slightly loose neutrals—especially in older aluminum-wired homes—are a root cause rarely checked by DIYers.
Questions about junction box codes or retrofit supports? Provide wire colors, fixture model, and box type when seeking help—otherwise, recommendations are speculative.
