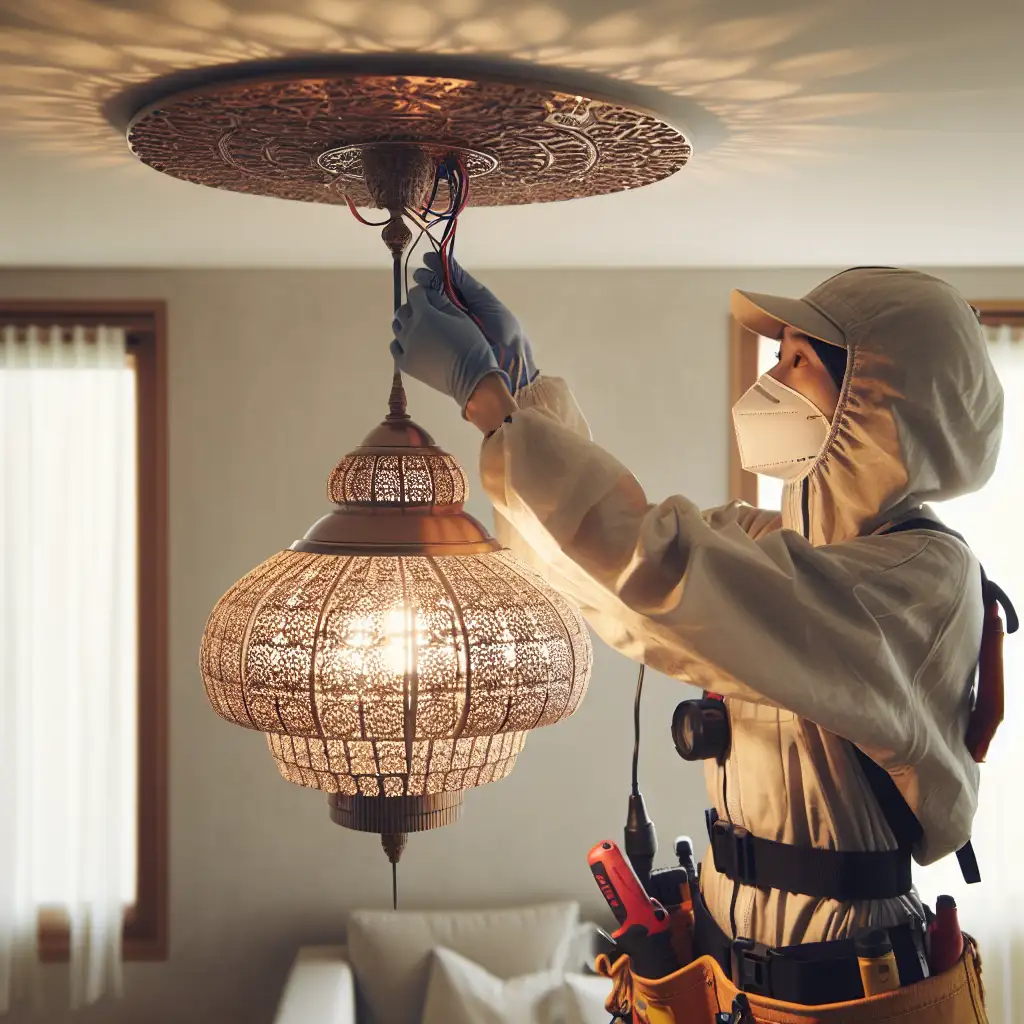
Step-by-Step Guide to Safely Installing a Ceiling Lamp Without Professional Help
Forget calling an electrician for every light fixture upgrade—here’s how you can confidently install a ceiling lamp yourself with minimal tools and maximum safety.
Upgrading your home lighting is one of the easiest ways to transform a room’s ambiance. However, the thought of tackling electrical work can be intimidating. The good news? Installing a ceiling lamp doesn’t have to be complicated or expensive. With a little know-how and careful attention to safety, you can do it yourself and save both time and money.
Here’s a straightforward step-by-step guide to help you install your ceiling lamp safely and efficiently.
What You’ll Need:
- New ceiling lamp fixture
- Screwdrivers (flathead and Phillips)
- Voltage tester or multimeter
- Wire stripper/cutter
- Ladder or sturdy step stool
- Wire nuts (usually included with the lamp)
- Electrical tape
- Safety goggles (optional but recommended)
- Flashlight or portable light source (if working in a dark room)
Step 1: Turn Off the Power
Before you do anything, go to your fuse box or circuit breaker panel and turn off the power supply to the room where you’re installing the lamp. Double-check by flipping the existing light switch on and off to confirm no electricity flows.
Important: Use a voltage tester on the wires in your ceiling box to confirm they are not live — safety first!
Step 2: Remove the Existing Fixture
If there’s an old light fixture, remove it carefully:
- Unscrew any decorative covers or shades.
- Unscrew the fixture itself from the mounting bracket.
- Gently pull it down to expose the wiring.
- Use your voltage tester once more to confirm wires are not energized.
- Unscrew wire nuts or connectors attaching the fixture wires to your household wiring.
- Untwist and separate wires.
Keep screws and mounting hardware if compatible with your new lamp.
Step 3: Examine Your Ceiling Box
Your wiring will usually consist of black (live), white (neutral), and green or bare copper (ground) wires.
- Ensure that your ceiling box is securely fastened; if it feels loose, tighten its screws before proceeding.
- Identify each wire color — sometimes colors vary slightly depending on age or country standards, but black/white/green is common in US homes.
If unsure about wire identification, consult manufacturer instructions or look up local electrical codes.
Step 4: Prepare Your Lamp Fixture
Most lamps come with their own mounting bracket—or sometimes you’ll use the existing one:
- Attach the bracket firmly to the ceiling box using provided screws.
- Thread lamp wires through any designated holes in bracket or canopy base.
Step 5: Connect Wires Properly
Match each house wire to corresponding fixture wire:
- Black (live) → Black
- White (neutral) → White
- Green or bare copper (ground) → Green or grounding screw on bracket
Use wire nuts tightly on connections, twisting clockwise, then wrap them securely with electrical tape for added safety.
Pro tip: If your fixture has multiple black wires or other colored wires, consult its instructions carefully — some may have distinct “hot” vs “switched” conductors.
Step 6: Mount Your Fixture
Push all wired connections gently into ceiling box without crimping any cables. Align fixture holes with mounting bracket screws and fasten snugly with screwdriver screws included with fixture until secure but without over-tightening.
Double-check stability—your new lamp should feel solid when lightly tugged.
Step 7: Install Light Bulbs and Shades
Depending on your model:
- Screw in recommended bulbs (like LED for energy efficiency).
- Attach any glass shades or covers per instructions.
Avoid bulbs exceeding wattage rating specified by manufacturer to prevent overheating.
Step 8: Turn Power Back On & Test
Go back to your circuit breaker panel and switch power back on for that room. Flip your wall switch!
If nothing happens immediately:
- Double-check bulb placement
- Verify switch function
- If safe, turn off power again and review wire connections before retrying
Most installations work smoothly if followed attentively!
Example Scenario: Installing a Chandelier in Your Dining Room
Imagine you’ve picked a beautiful chandelier for above your dining table—here’s what would be different:
- The chandelier may be heavier — ensure ceiling box is rated for heavy fixtures.
- You might have extra steps installing support hooks.
- Some chandeliers come with chain links; adjust length prior to wiring.
- Often they include several bulbs—make sure all sockets are tested after installation.
Even so, these steps are fundamentally similar — safety first, detailed connection second!
Final Safety Tips & Reminders
- Never work on live wires.
- If at any point you feel uncertain, call a professional electrician instead of risking injury or damage.
- Make sure ceiling box supports the weight of your new fixture.
- Use proper tools—don’t improvise with unsuitable equipment.
- Keep children/pets away while working for safety reasons.
Installing a ceiling lamp yourself can feel empowering—and with our step-by-step guide, it truly is within reach! Still want peace of mind? Invite someone experienced to supervise your first installation attempt.
Happy DIY lighting upgrades! Brighten up your home safely without breaking the bank or scheduling appointments!
Have questions about specific fixtures? Drop them in the comments below – I’d love to help!
