Seamlessly Transitioning from Docker to Kubernetes: A Hands-On Guide for Developers
Many developers cling to Docker locally but shy away from Kubernetes due to perceived complexity. This guide flips that narrative, demonstrating how Kubernetes can actually simplify managing containerized applications once you bridge the initial learning gap.
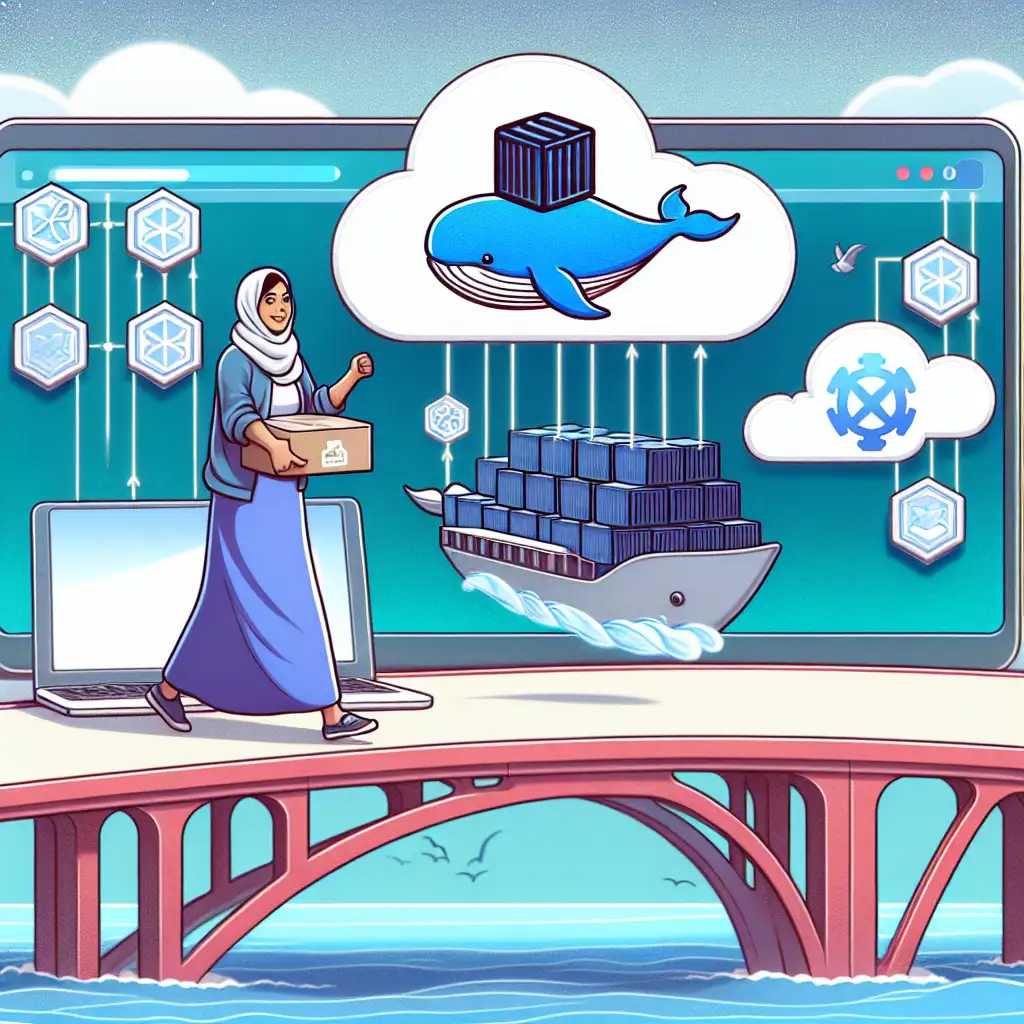
As organizations grow and their applications evolve, managing individual Docker containers one by one quickly becomes impractical. Docker is fantastic for development and small-scale deployments, but orchestrating multiple containers across a distributed environment demands something more powerful — enter Kubernetes.
This post walks you through the practical steps of moving from Docker-centric workflows to Kubernetes-based deployments without overwhelming complexity. Whether you’re a developer just starting with Kubernetes or looking to refine your transition process, you’ll gain hands-on insights and simple examples that clarify the journey.
Why Move Beyond Docker?
Docker helps you build, ship, and run containers — all on your local machine or a single host. Its simplicity is its superpower. But when it comes to handling:
- Multi-container apps spanning multiple hosts
- Automated scaling based on demand
- Self-healing and rolling updates
- Service discovery and load balancing
Docker alone is limited.
Kubernetes tackles these at scale by orchestrating container workloads in clusters, automating deployment aspects that would otherwise be manual and error-prone.
Step 1: Understand the Kubernetes Basics
Before moving anything, familiarize yourself with these key Kubernetes concepts:
- Pod: The smallest deployable units in Kubernetes; usually wraps one or more containers.
- Deployment: Manages pods’ lifecycle, including scaling and updates.
- Service: Abstracts networking between pods and exposes your app.
- ConfigMap & Secret: Manage configuration data and sensitive information separately from your container images.
If you’re comfortable running docker run commands locally, think of a Pod as an enhanced docker run that’s managed by Kubernetes under the hood.
Step 2: Set Up Your Local Kubernetes Cluster
Use tools like minikube, kind, or Docker Desktop’s built-in Kubernetes to spin up a local cluster quick:
# Example using minikube:
minikube start

# Check cluster status:
kubectl cluster-info
Once your cluster is up, you’re ready to deploy your first app.
Step 3: Convert Your Docker Image into a Deployment
Let’s say you have a simple Node.js app with a Dockerfile:
FROM node:16-alpine
WORKDIR /app
COPY package*.json ./
RUN npm install
COPY . .
CMD ["node", "index.js"]
You build it locally like this:
docker build -t mynodeapp:v1 .
docker run -p 3000:3000 mynodeapp:v1
To deploy on Kubernetes:
-
Push image to a container registry accessible by your cluster (Docker Hub, GCR, ECR).
docker tag mynodeapp:v1 myusername/mynodeapp:v1 docker push myusername/mynodeapp:v1 -
Create a deployment YAML (
deployment.yaml):
apiVersion: apps/v1
kind: Deployment
metadata:
  name: mynodeapp-deployment
spec:
  replicas: 3
  selector:
    matchLabels:
      app: mynodeapp
  template:
    metadata:
      labels:
        app: mynodeapp
    spec:
      containers:
      - name: nodejs-container
        image: myusername/mynodeapp:v1
        ports:
        - containerPort: 3000
- Apply it:
kubectl apply -f deployment.yaml
- Confirm pods are running:
kubectl get pods
Step 4: Expose Your App Using a Service
To access your app outside of the cluster:
Create a service.yaml:
apiVersion: v1
kind: Service
metadata:
  name: mynodeapp-service
spec:
  type: NodePort          # For local clusters; use LoadBalancer in cloud environments
  selector:
    app: mynodeapp
  ports:
    - protocol: TCP
      port: 3000
      targetPort: 3000
      nodePort: 32000   # Choose node port between 30000-32767
Apply it:
kubectl apply -f service.yaml
Now find your minikube IP and access via browser at http://<minikube-ip>:32000.
minikube ip
Step 5: Use ConfigMaps and Secrets Instead of Environment Variables in Images
Instead of baking config into images (which is common in Docker workflows), manage configuration dynamically via ConfigMaps or Secrets.
Create a ConfigMap (configmap.yaml):
apiVersion: v1
kind: ConfigMap
metadata:
  name: app-config
data:
  APP_ENVIRONMENT: "production"
Mount or inject this into your Pod spec as environment variables:
envFrom:
- configMapRef:
    name: app-config
Deploy with updated YAML — this decouples config management from image builds, enhancing portability.
Step 6 (Bonus): Scale Your App Effortlessly
With Docker, scaling means manually starting more containers on specific hosts. Kubernetes makes this trivial:
kubectl scale deployment/mynodeapp-deployment --replicas=5
kubectl get pods
Your application instantly scales within the cluster — no extra scripting or manual intervention required!
Wrapping Up
Switching from Docker CLI to managing Kubernetes orchestrations might feel like learning to use a new programming language at first. However, many developers find that after mastering core concepts like Deployments, Services, and ConfigMaps, they regain their workflow simplicity — only now with far greater automation, resilience, and scalability baked in.
By starting small — deploying local clusters, converting single-container apps step-by-step — you’ll bridge the gap between “Docker comfort zone” and “Kubernetes power user.”
If you want practical resources as next steps:
- Kubernetes official tutorials
- Tools like Kompose can help convert
docker-compose.ymlfiles to k8s manifests. - Manage your clusters with GUI tools like Lens.
The key takeaway? Embrace the initial learning curve because after that... Kubernetes doesn't complicate your life; it simplifies it at scale.
Happy container orchestrating! 🚀