Mastering the ‘dd’ Command: A Precise Guide to Creating Bootable USBs from ISO Files
Forget bulky software with confusing interfaces—learn how the minimalist dd command empowers you to create perfect bootable USB drives with surgical precision and avoid common pitfalls that waste time and corrupt media.
Creating a bootable USB drive from an ISO image is a common task for system administrators, IT pros, and even power users. While graphical tools like Rufus or Etcher are popular and user-friendly, they often abstract away what’s really happening underneath. The dd command—an old-school yet incredibly powerful Unix utility—is the "secret weapon" for anyone who wants low-level control, efficiency, and reliability when creating bootable media.
In this post, you’ll learn step-by-step how to harness dd to write ISO files directly to your USB drive on Linux or macOS. By mastering this tool, you:
- Avoid unnecessary overhead from bloated GUIs.
- Ensure exact byte-for-byte copies of your ISO.
- Gain a skill critical for troubleshooting or automating deployments.
- Prevent common mistakes that can corrupt your boot media.
Let’s dive in.
What Does dd Actually Do?
The name ‘dd’ comes from a joke about "Dataset Definition" (though originally a simplistic copying tool on early Unix systems). It reads bytes from an input file or device and writes them byte-for-byte to an output file or device.
In practical terms: it copies your ISO image exactly onto your USB drive, bit for bit.
This low-level copy bypasses any filesystem or partition magic that GUI utilities do behind the scenes, which can be great when you want precise control — but also means you need to be very careful in specifying input and output targets!
Step 1: Prepare Your USB Drive
First things first — insert your USB flash drive. Make sure any important data on it is backed up because this process will erase everything on the device.
Identify Your USB Device
Run:
lsblk
or
diskutil list # macOS
and find your USB device name. On Linux it will be something like /dev/sdb or /dev/sdc. On macOS it usually looks like /dev/disk2.
Important: Identify the whole disk, not a partition like /dev/sdb1. Writing to partitions can cause boot failures.
Step 2: Unmount the USB Drive
Before running dd, unmount the USB partitions (eject them logically but do not physically remove):
On Linux:
sudo umount /dev/sdb1
Repeat for all mounted partitions of the USB drive.
On macOS:
diskutil unmountDisk /dev/disk2
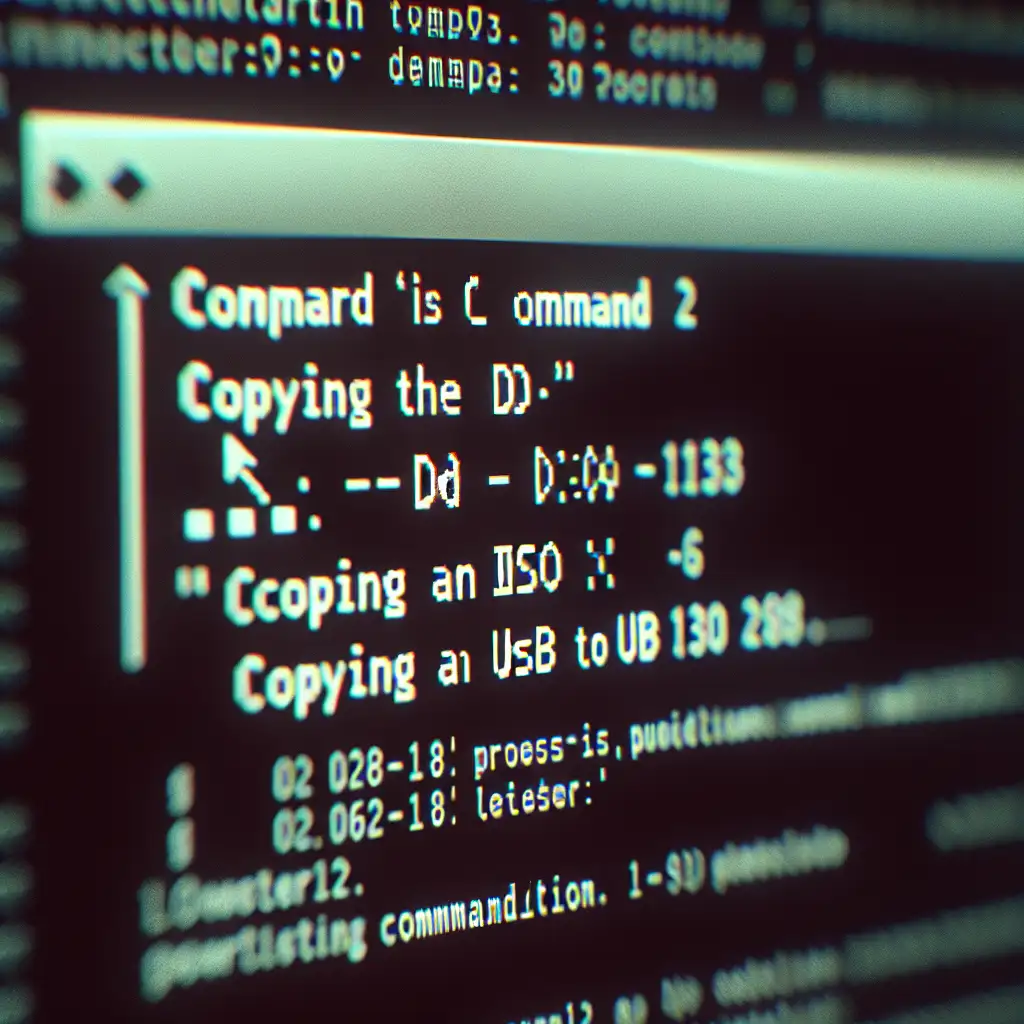
Step 3: The dd Command Syntax
Here is the basic syntax for writing an ISO image to USB using dd:
sudo dd if=/path/to/your.iso of=/dev/sdX bs=4M status=progress conv=fsync
Explanation:
if=— input file (your ISO path)of=— output file/device (your entire USB drive, e.g.,/dev/sdb)bs=4M— block size; speeds up copy by reading/writing 4 MB chunks at a timestatus=progress— shows ongoing progress (Linux kernels 4.18+)conv=fsync— ensures all writes are physically completed before finishing
Example Walkthrough
Suppose you downloaded Ubuntu Desktop ISO at /home/user/Downloads/ubuntu.iso, and your USB device is /dev/sdc.
- Confirm device:
lsblk
- Unmount partitions if mounted:
sudo umount /dev/sdc1
sudo umount /dev/sdc2    # if exists
- Write ISO:
sudo dd if=/home/user/Downloads/ubuntu.iso of=/dev/sdc bs=4M status=progress conv=fsync
Wait patiently until it finishes; no progress bar will appear without status=progress. After completion, you can safely eject the disk with:
sudo eject /dev/sdc       # Linux
diskutil eject /dev/disk2 # macOS equivalent
Tips & Common Pitfalls to Avoid
-
Double-check the target device! A wrong output device will overwrite critical data.
-
Don’t add a partition number like
/dev/sdc1, write to the raw disk/dev/sdc. -
Use a larger block size (
bs=4M) for faster transfers; smaller block sizes cause slower copies. -
It may take several minutes depending on image size and USB speed—don’t interrupt unless absolutely necessary.
-
If
status=progressis unavailable (older Linux), pressCtrl+Tduring copying to see progress or run in another terminal:
pidof dd | xargs -r kill -USR1
Verifying Your Bootable Drive
After writing your image, try booting another computer directly from the USB drive to test its functionality.
If you want extra verification: compare checksums of the original ISO versus your usb device contents (advanced users). For example,
sudo sha256sum /path/to/your.iso
sudo dd if=/dev/sdc bs=4M count=<number_of_blocks> | sha256sum
But generally, successful boot confirms correctness.
Alternative: Using cp is Not Enough!
You may wonder why not just copy with:
cp ubuntu.iso /dev/sdx
The problem is that plain copying doesn’t sync buffers well, nor handle block sizes optimally. Also no progress feedback or flush guarantees—leading sometimes to corrupted media.
The combination of flags in dd makes it reliable.
Final Thoughts
Mastering the dd command transforms creating bootable media from a frustrating guessing game into an exact science. It strips away distractions so you own every byte written onto your USB stick — essential when deploying servers, recovery tools, or custom distros where precision means success or failure.
Next time you download an ISO and reach for GUI apps—you’ll know exactly how to wield ‘dd’ with confidence and finesse.
Happy imaging!