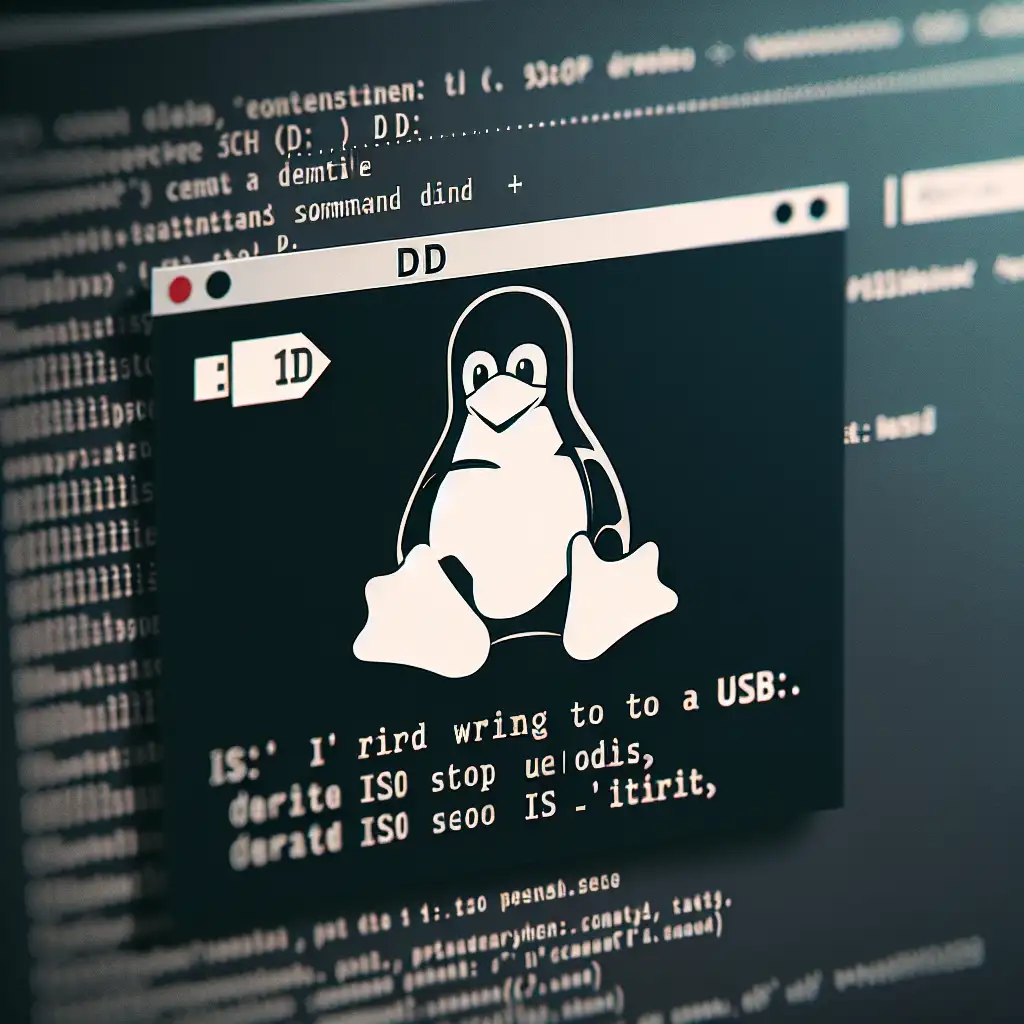
Mastering ISO to USB Creation on Linux: Ensuring Reliable Bootable Media Every Time
When it comes to creating bootable USB drives from ISO files on Linux, relying on GUI tools or third-party software can sometimes lead to inconsistent results. For system administrators, developers, and IT professionals, mastering the command-line approach ensures precise control and repeatable success — critical when deploying operating systems or performing recovery tasks in production environments.
In this post, I’ll walk you through the essential Linux tools and techniques for converting an ISO file into a reliable bootable USB stick. By ditching the graphical utilities and embracing manual methods, you’ll gain confidence and flexibility in every step of the process.
Why Command-Line ISO to USB Creation Matters
GUI tools like UNetbootin, Rufus (on Windows), or desktop “Startup Disk Creator” apps are undeniably convenient. However:
- They often abstract important details behind progress bars.
- Some introduce undocumented modifications to ISOs.
- Compatibility issues with certain distributions or hardware can arise.
- Automated scripts sometimes fail silently or produce corrupted media.
By using the Linux command line—primarily dd—you get full visibility and control. You decide exactly what’s written where, ensuring your USB drive truly matches the original ISO byte-for-byte.
Step 1: Prepare Your Environment
Before proceeding, make sure you have:
- A USB flash drive with enough capacity (usually 4GB+ depending on the ISO size).
- The ISO file you wish to write (for example,
ubuntu-22.04-desktop-amd64.iso). - Root (sudo) privileges on your Linux machine.
- Basic knowledge of identifying devices (
lsblk,fdisk) and careful attention to avoid overwriting wrong disks.
⚠️ Warning: The following commands will erase all data on the target USB device. Double-check device paths carefully!
Step 2: Identify Your USB Drive
Plug in your USB drive, then run:
lsblk
Example output:
NAME   MAJ:MIN RM   SIZE RO TYPE MOUNTPOINT
sda      8:0    0 465.8G  0 disk
├─sda1   8:1    0   512M  0 part /boot/efi
├─sda2   8:2    0   100G  0 part /
└─sda3   8:3    0 365.3G  0 part /home
sdb      8:16   1   15.5G 0 disk
└─sdb1   8:17   1   15.5G 0 part /media/user/USB_DRIVE
In this example, /dev/sdb is the USB device (15.5 GB). Notice no partition number — write directly to /dev/sdb, not /dev/sdb1.
Step 3: Unmount Any Mounted Partitions on the USB Drive
If your system auto-mounted the device:
sudo umount /dev/sdb1
Unmount all partitions if there are multiple.
Step 4: Copy the ISO to USB with dd
The classic and most reliable way is using dd. Replace /path/to/your.iso and /dev/sdX accordingly.
sudo dd if=/path/to/your.iso of=/dev/sdX bs=4M status=progress conv=fdatasync
Breaking down options:
if=input file (ISO file path)of=output file/device (USB device root)bs=4Mblock size for faster writes without overwhelming RAMstatus=progressshows ongoing progress infoconv=fdatasyncensures data is physically flushed to disk before finishing
Example:
sudo dd if=~/Downloads/ubuntu-22.04-desktop-amd64.iso of=/dev/sdb bs=4M status=progress conv=fdatasync
This might take a few minutes depending on USB speed.
Step 5: Sync Disks & Safely Remove
After dd finishes, always run:
sync
This guarantees all data has been written out from buffers to physical media.
You can then safely eject your media either via GUI eject or:
sudo eject /dev/sdb
Bonus Tips
Verify Integrity by Comparing Checksums
After writing, you might want to verify that your USB’s content matches original ISO bytes:
sudo dd if=/dev/sdb bs=4M count=$(($(stat -c%s /path/to/your.iso)/4194304+1)) | sha256sum -
sha256sum /path/to/your.iso
This creates a checksum from first N blocks equal to ISO size on USB and compares against original hash.
Using cp Instead of dd
Some people use:
sudo cp /path/to/your.iso /dev/sdX && sync
While often effective, dd gives more explicit options for performance tuning and progress monitoring.
Alternative Tools — When & Why?
Programs like Etcher or Ventoy help those new to imaging drive but rely heavily on GUIs or pre-made workflows you can’t tweak extensively. For automation or fine-tuning in production environments, stick with command-line methods.
Troubleshooting Common Issues
-
Drive not booting?
Verify your motherboard supports booting from USB created by raw writes; some need special formatting or bootloaders installed manually. -
Permission denied errors?
Ensure running commands withsudofor raw device access. -
Slow write speeds?
Try different block sizes (bs=1M,bs=8M) or switch USB ports/hubs.
Conclusion
Mastering ISO-to-USB creation via Linux command line eliminates guesswork and flaky GUI tools. You get a streamlined process producing consistent, dependable bootable media — essential for any serious sysadmin or developer toolkit.
Practice these steps a few times with non-critical ISOs before working with real deployment images. With patience and precision, you’ll always be prepared for OS installs, system recovery jobs, or testing new distributions without ever depending on third-party apps again!
Feel free to share your own tips or questions below — happy imaging!