Mastering Linux on Android: Step-by-Step Guide to Running a Full Linux Environment on Your Device
Most people view Android devices as limited to mobile apps, but what if your phone could double as a powerful Linux workstation? This guide cuts through the noise to deliver a no-nonsense approach to running an authentic Linux system on your Android device, no compromises.
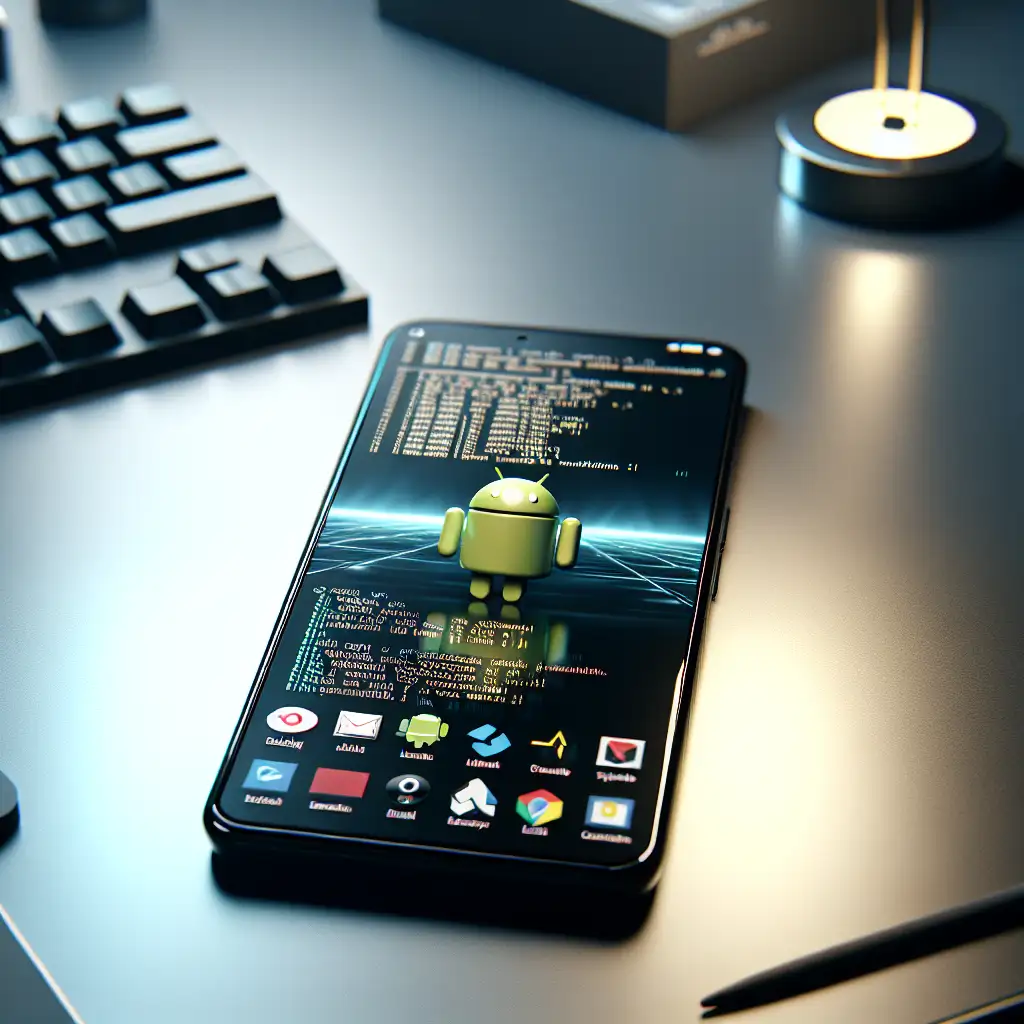
Running Linux on Android unlocks desktop-grade computing power directly from a mobile device, enabling developers and IT professionals to carry full Linux environments without bulky hardware. This capability not only maximizes productivity but also pushes the boundaries of mobile computing flexibility.
Let’s dive in and transform your Android into a fully functional Linux machine!
Why Run Linux on Android?
Before we jump into setup, it’s worth understanding why you may want to:
- Portability: Carry your development environment in your pocket.
- Full-Fledged Tools: Run Bash, Python, Git, SSH, and other native Linux apps without emulation.
- Customization & Control: Customize environment just as you would on desktop Linux.
- Offline Capability: Work in a full Linux shell even where no internet is available.
With that motivation in mind, here is how to do it.
What You’ll Need
- An Android device running at least Android 7.0 (Nougat) or later for compatibility.
- Sufficient storage space (~2GB minimum) for the Linux filesystems.
- A stable WiFi connection (recommended for initial setup).
- Optional: External keyboard/mouse or Bluetooth peripherals for better interaction.
Step 1: Choose Your Method for Running Linux
There are several approaches; the two most popular and reliable methods are:
- Using UserLAnd – Easiest way to run complete Linux distros without rooting.
- Using Termux + proot-distro – More lightweight/developer-centric solution offering great flexibility.
Why Not Root?
While rooting allows more powerful options, it’s risky and voids warranties. These instructions rely on no root access, ensuring safety and ease.
Step 2: Installing UserLAnd (Simplest Option)
UserLAnd is an open-source app that allows you to install various popular distros like Ubuntu, Debian, or Kali on your device.
Installation & Setup:
- Open the Google Play Store.
- Search and install UserLAnd.
- Launch the app — it will prompt you to choose a distro.
- Select Ubuntu (recommended for beginners).
- Set up username, password, and VNC password.
- The app downloads necessary assets (this can take a few minutes).
Access Your Linux Environment
-
Once installed, you’ll be taken into a graphical interface if using VNC or directly into command line via SSH in-app.
-
From here you can update packages by opening terminal inside UserLAnd:
sudo apt update && sudo apt upgrade
Example - Installing Git
sudo apt install git
You now have a fully functional Linux environment where you can run shell commands just like on desktop!
Step 3: Using Termux + proot-distro (Lightweight & Versatile)
Termux is an advanced terminal emulator with an extensive collection of packages designed for mobile devices.
Install Termux:
-
Download Termux from F-Droid (recommended) or Google Play Store.
-
Open Termux and update packages:
pkg update && pkg upgrade -
Install
proot-distrowhich lets you install and manage different distros without root:pkg install proot-distro -
List available distros:
proot-distro list -
Install your chosen distro (example: Ubuntu):
proot-distro install ubuntu -
Start the distro environment:
proot-distro login ubuntu
You’re now inside an Ubuntu rootfs that feels just like a regular Linux terminal!
Step 4: Customize Your Environment
Inside either UserLAnd or Termux:
- Install essential packages like
vim,curl,python3,git, etc.
sudo apt install vim curl python3 git -y
- Set up SSH keys for development syncing or remote access:
ssh-keygen -t rsa -b 4096 -C "your_email@example.com"
- Use tools familiar from desktop workflows — text editors like nano/vim/emacs, version control with git, scripting languages — all right at your fingertips.
Step 5: Optional - Enable GUI Applications
If you want graphical apps (like Firefox or Gedit):
With UserLAnd
- UserLAnd includes support for VNC session launch.
- Connect via VNC viewer app using credentials set during installation.
With Termux + X11
Termux can run X11 GUI apps via an X server app like XServer XSDL:
-
Install XServer XSDL from Google Play Store.
-
Export display variable inside Termux:
export DISPLAY=:0 -
Start graphical app inside proot-distro session; it will appear via the XServer app window.
Tips for Smooth Experience
- Use external keyboard/mouse when possible — terminal typing is much easier.
- Invest in some battery backup because extended sessions can drain power quickly.
- Back up important config files (
~/.bashrc,.vimrc) using cloud storage/git sync so setups are reproducible across devices.
Final Thoughts
Running full Linux environments on an Android phone isn’t just geeky fun — it's practical, powerful computing that fits in your pocket anywhere you go. Whether you're debugging code at a cafe or managing servers remotely while traveling light, these tools empower professional-grade workflows on mobile hardware.
Now it’s your turn — pick either UserLAnd or Termux + proot-distro based on your needs and start harnessing real Linux power right inside Android today!
If you enjoyed this step-by-step guide or have questions about specific setups, leave a comment below! Happy hacking!