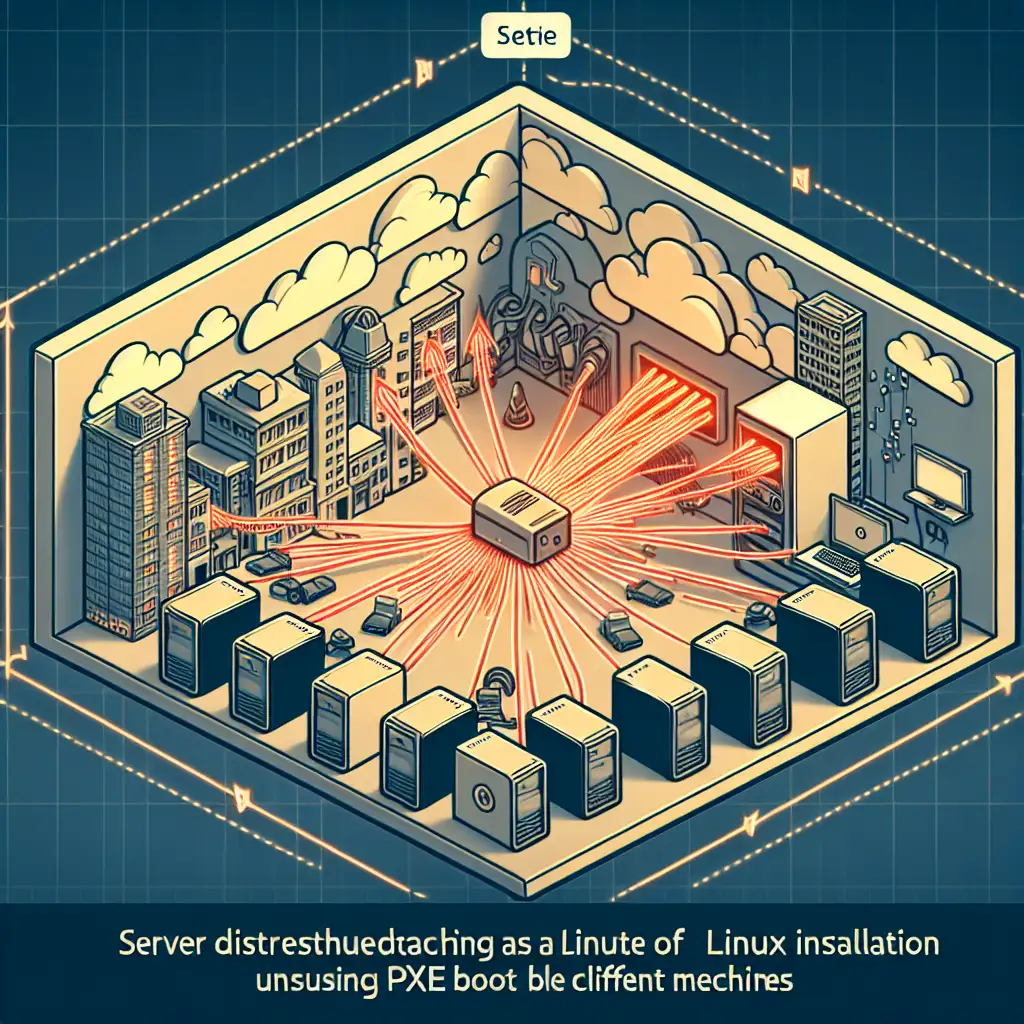
Installing Linux Without a USB Drive: Using Network Boot (PXE) for Seamless Setup
Forget the USB stick struggle—discover how network booting transforms Linux installation into a frictionless, scalable process, perfect for sysadmins and developers who demand efficiency and flexibility without sacrificing control.
Why Skip the USB Drive?
Many of us have been there: scrambling to find a working USB drive, wrestling with corrupted media, or managing dozens of machines where USB imaging is simply impractical. Whether you're working in an environment with strict hardware policies, limited physical access, or handling rapid deployments across multiple systems, relying on USB sticks can become a major bottleneck.
Network booting via PXE (Preboot Execution Environment) unlocks a powerful alternative that leverages your existing network infrastructure to deliver OS installation media directly over Ethernet—no physical drives needed. This approach not only eliminates the hassle of USBs but also scales effortlessly when deploying dozens or hundreds of systems.
What You’ll Need
- A DHCP server capable of providing PXE boot information (often your router or dedicated DHCP server)
- A TFTP server to serve bootloader and kernel/initrd files
- A Linux installation ISO or preseed/kickstart configuration files for automated installs
- Target machines configured to boot from the network (enable PXE in BIOS/UEFI)
Basic Overview: How PXE Boot Works
- Client sends DHCP request on boot — it asks “where can I get my network boot program?”
- DHCP Server responds with IP lease plus PXE boot filename and TFTP server IP.
- Client downloads bootloader via TFTP from the specified server.
- Bootloader loads kernel & initrd, which then starts the installer.
- The installation proceeds over network or interactive install begins.
Step-by-Step Guide to Installing Linux via PXE
Step 1: Set Up Your TFTP Server
On your Linux setup machine (can be personal laptop or dedicated server):
sudo apt update
sudo apt install tftpd-hpa
Configure /etc/default/tftpd-hpa like:
TFTP_DIRECTORY="/var/lib/tftpboot"
TFTP_ADDRESS="0.0.0.0:69"
TFTP_OPTIONS="--secure"
Create the TFTP root directory and set permissions:
sudo mkdir -p /var/lib/tftpboot
sudo chown -R nobody:nogroup /var/lib/tftpboot
sudo chmod -R 755 /var/lib/tftpboot
Start and enable the TFTP service:
sudo systemctl restart tftpd-hpa
sudo systemctl enable tftpd-hpa
Step 2: Extract Boot Files from Your Linux ISO
Mount your ISO image to extract PXE boot loader and kernel files:
mkdir /mnt/iso
sudo mount -o loop ubuntu-22.04-live-server-amd64.iso /mnt/iso

# Copy netboot files (paths may vary depending on distro)
sudo cp /mnt/iso/casper/vmlinuz /var/lib/tftpboot/
sudo cp /mnt/iso/casper/initrd /var/lib/tftpboot/
You'll also need a PXELINUX binary to start the process:
sudo apt install syslinux-common
sudo cp /usr/lib/PXELINUX/pxelinux.0 /var/lib/tftpboot/
Create a directory for configuration files:
sudo mkdir -p /var/lib/tftpboot/pxelinux.cfg
Step 3: Configure DHCP Server for PXE Boot
If you control your DHCP server (e.g., ISC DHCP server), modify its config:
option space pxelinux;
option pxelinux.magic code 208 = string;
option pxelinux.configfile code 209 = text;
option pxelinux.pathprefix code 210 = text;
option pxelinux.reboottime code 211 = unsigned integer 32;

subnet 192.168.1.0 netmask 255.255.255.0 {
    range 192.168.1.100 192.168.1.200;
    option routers 192.168.1.1;
    filename "pxelinux.0";
    next-server 192.168.1.X; # IP where the TFTP is running
}
If you only have your router’s DHCP and it supports PXE options, configure accordingly (consult your router’s manual).
Step 4: Create PXELINUX Configuration File
This file tells PXELINUX what kernel and initrd to load and how to proceed.
Create /var/lib/tftpboot/pxelinux.cfg/default with contents like this example for Ubuntu install:
DEFAULT install

LABEL install
    KERNEL vmlinuz
    APPEND initrd=initrd boot=casper netboot=nfs nfsroot=192.168.1.X:/srv/install/ubuntu ip=dhcp ---
You can customize APPEND options depending on your distro and whether you want automated installs (e.g., with cloud-init, kickstart, or preseed).
Step 5: Prepare Installation Files for Network Access
For example, host the entire installation filesystem over NFS, HTTP, or FTP so that after PXE boots into installer kernel/initrd, it has access to installation packages.
Example using NFS:
sudo apt install nfs-kernel-server

mkdir -p /srv/install/ubuntu
# Extract ISO contents here:
mount -o loop ubuntu-22.04-live-server-amd64.iso /mnt/iso
cp -r /mnt/iso/* /srv/install/ubuntu/

echo "/srv/install/ubuntu *(ro,no_root_squash,sync)" | sudo tee -a /etc/exports

sudo exportfs -a
sudo systemctl restart nfs-kernel-server
Make sure firewall rules allow NFS traffic.
Step 6: Boot Your Target Machine via Network!
Reboot a client machine configured for network/PXE boot in BIOS settings—no USB needed—and watch as it pulls down the installer from your server.
From here you can run through an interactive install or set up automated methods like kickstart/preseed files for fully hands-off installations at scale.
Bonus Tip: Automating with Kickstart or Preseed
Once your PXE infrastructure runs smoothly, automate even further by supplying unattended installation configs through HTTP/NFS along with kernel parameters so entire fleets deploy without human intervention—ideal for cloud lab setups, datacenters, or classrooms.
Conclusion
Installing Linux without a USB drive no longer requires complicated hacks—PXE network booting offers a clean, scalable way to deploy quickly leveraging existing infrastructure and minimal extra hardware.
Whether you’re maintaining lab environments, rolling out hundreds of servers at once, or just tired of lost/unavailable USB drives—the flexibility of network-based installations will streamline your workflow while giving you complete control over each stage.
Ready to ditch the flash drive? Start setting up your own PXE environment today—and transform how you deploy Linux forever!
Feel free to drop any questions below if you want specific distro instructions or troubleshooting tips!
