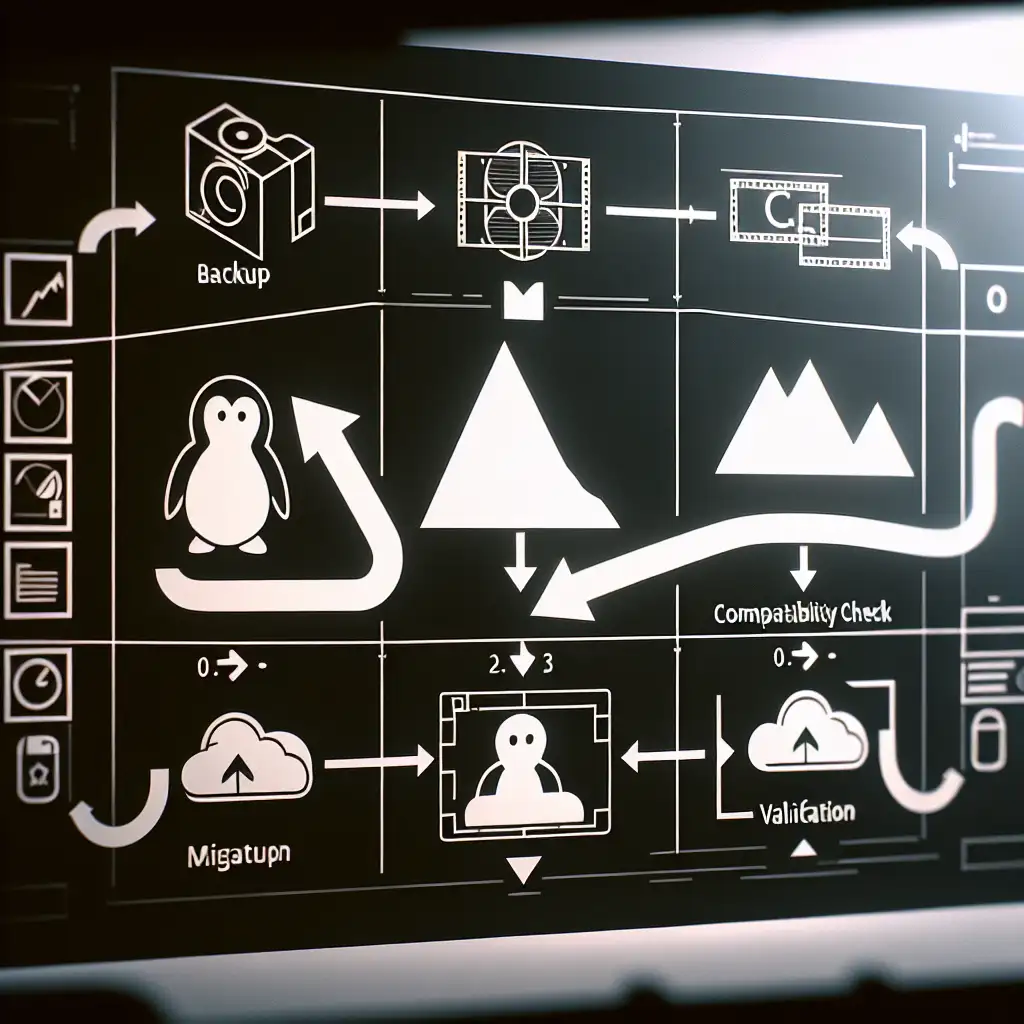
Seamless Migration: A Step-by-Step Guide to Transitioning from CentOS 8 to Rocky Linux
With CentOS 8 reaching its end of life, systems dependent on it risk security vulnerabilities and lack of support. Transitioning to Rocky Linux ensures continuity, stability, and long-term viability for enterprise and cloud deployments.
Forget quick-fix scripts. Real migration demands a controlled, well-documented process that respects existing configurations and minimizes downtime — we break down how to do it right, not just fast.
Why Migrate from CentOS 8 to Rocky Linux?
CentOS 8 officially ended support in December 2021, meaning no more security updates or bug fixes. For organizations running critical workloads, this is a ticking time bomb for stability and security. Rocky Linux emerged as a community-driven, enterprise-grade replacement that’s binary-compatible with Red Hat Enterprise Linux (RHEL), making it the natural successor many sysadmins trust.
If you want a resilient system that mirrors your current CentOS 8 environment with minimal disruption, Rocky Linux is your go-to choice.
Prerequisites Before Migration
- System Backup: Full system backup is non-negotiable. Use tools like
rsync,tar, or take snapshots if on virtualized/cloud platforms. - Root or Sudo Access: You’ll need elevated privileges for installation tasks.
- Internet Connectivity: Access to Rocky Linux repositories.
- Check Current System: Know your kernel version, installed packages, and services.
cat /etc/os-release       # Confirm it's CentOS 8
uname -r                  # Check kernel version
rpm -qa --qf '%{NAME}\n'  # List installed packages
Step 1: Prepare Your Environment
Make sure your system is fully updated before you start:
sudo dnf clean all
sudo dnf update -y
sudo reboot
After rebooting back into your fully-patched CentOS 8 environment, confirm again your version:
cat /etc/centos-release
Step 2: Disable Third-Party Repositories and EPEL
Third-party repos can cause conflicts during migration.
sudo dnf repoquery --repoid='*' | grep -v '^epel'
Disable all non-base repos besides EPEL (because you’ll reinstall it later):
sudo dnf config-manager --disable <repo-id>
It’s good practice to document these repos so you can re-enable them post-migration.
Step 3: Install the Rocky Linux Migration Script
Rocky Linux provides an official migration tool called migrate2rocky which assists with converting CentOS systems seamlessly.
First, fetch and run the script:
curl -O https://raw.githubusercontent.com/rocky-linux/rocky-tools/main/migrate2rocky/migrate2rocky.sh
chmod +x migrate2rocky.sh
sudo ./migrate2rocky.sh -r
What does this do?
- Converts repo files from CentOS to Rocky.
- Migrates RPM packages by replacing CentOS-specific ones with Rocky ones.
- Does basic dependency cleaning and system refresh.
Note: This script supports migrations from CentOS 8 to Rocky Linux 8 directly.
Step 4: Validate Before Accepting Changes
Before making irreversible changes, run the script in “check” mode:
sudo ./migrate2rocky.sh -c
This will perform a dry run highlighting:
- Potential package conflicts.
- Configuration files that may be overwritten.
- Packages being replaced or removed.
Review these carefully. If anything critical is listed (e.g., custom kernel modules, proprietary drivers), plan accordingly before continuing.
Step 5: Execute Migration
If the dry run looks good, proceed without the check flag:
sudo ./migrate2rocky.sh -r
During this process:
- Your OS release files under
/etcwill swap out to Rocky Linux equivalents. - RPMs will be updated.
- Basic system metadata will update Rocket-specific signatures.
Be patient—the process can take some time depending on package count and network speed.
Step 6: Clean Up & Post-Migration Tasks
After migration completes:
-
Reboot into new Rocky Linux system:
sudo reboot -
Confirm release identity:
cat /etc/os-releaseExample output should show something like:
NAME="Rocky Linux" VERSION="8.x" ID="rocky" -
Re-enable your third-party repositories one by one; test functionality after each before applying updates.
-
Reinstall EPEL if necessary:
sudo dnf install epel-release -y -
Update all packages for consistency:
sudo dnf update -y && sudo dnf clean all -
Verify services are running as expected:
sudo systemctl status <service-name> -
Check logs for any warnings/errors (
journalctl -xe).
Step 7: Test Everything Thoroughly
Migration isn’t complete until you verify key workloads:
- Web services (Apache/Nginx)
- Database instances (MariaDB/PostgreSQL)
- Application runtimes (Java/Python/Node)
Check application logs carefully and consider deploying test workloads before shifting production traffic back on.
Optional: Automate With Ansible or Scripts
If you manage multiple hosts, consider automating the migration steps with configuration management tools like Ansible (example snippet):
- name: Migrate CentOS 8 to Rocky Linux using migrate2rocky script
  hosts: centos_servers
  become: yes
  tasks:
    - name: Download migrate2rocky.sh
      get_url:
        url: https://raw.githubusercontent.com/rocky-linux/rocky-tools/main/migrate2rocky/migrate2rocky.sh
        dest: /tmp/migrate2rocky.sh
        mode: '0755'

    - name: Run migrate2rocky script
      command: /tmp/migrate2rocky.sh -r
      register: migration_output

    - debug:
        var: migration_output.stdout_lines
Automating ensures consistency across systems — crucial when orchestrating at scale.
Troubleshooting Tips
| Issue | Solution |
|---|---|
| Repo conflicts | Disable conflicting third-party repos |
| Network issues | Ensure no firewall blocks repo access |
| Dependency errors | Run dnf distro-sync after migration |
| Service failures post-migration | Check config adjustments; compare with backups |
For detailed debug logs, review /var/log/migrate2rocky.log.
Final Words
Migrating from CentOS 8 to Rocky Linux doesn’t have to be risky or rushed. By following a structured approach — backing up data, verifying repos and dependencies, using official tools, and thoroughly testing — you ensure high availability and future-proof stability without surprises.
Remember: good migrations are about precision over speed — avoid quick-fix scripts promising magic solutions. With Rocky Linux’s strong community support and compatibility guarantees, your servers will be ready for years of secure operation ahead.
Happy migrating!
Found this guide useful? Subscribe below for more practical sysadmin walkthroughs! Got questions or experiences? Drop a comment — let’s build great IT together.
